Tue 15th Oct 2013
A tantalising text arrived on Monday from Claire at Jaz including photos of the engine coming together. The invitation to visit Jaz to check on progress the following day was barely necessary.

Me and my mate Stan headed up to Wembley only remembering as we got close to the Stadium that a rather important World Cup qualifying match would be taking place there that night between England and Poland.
Picking our way past cars packed to the gunnels with Poland fans – we arrived at Jaz to the vision of a beautiful 356A parked in the entrance to the workshop.
Leaving the 356 for later inspection we found Dave to show us the engine and explain what he’d been up to.
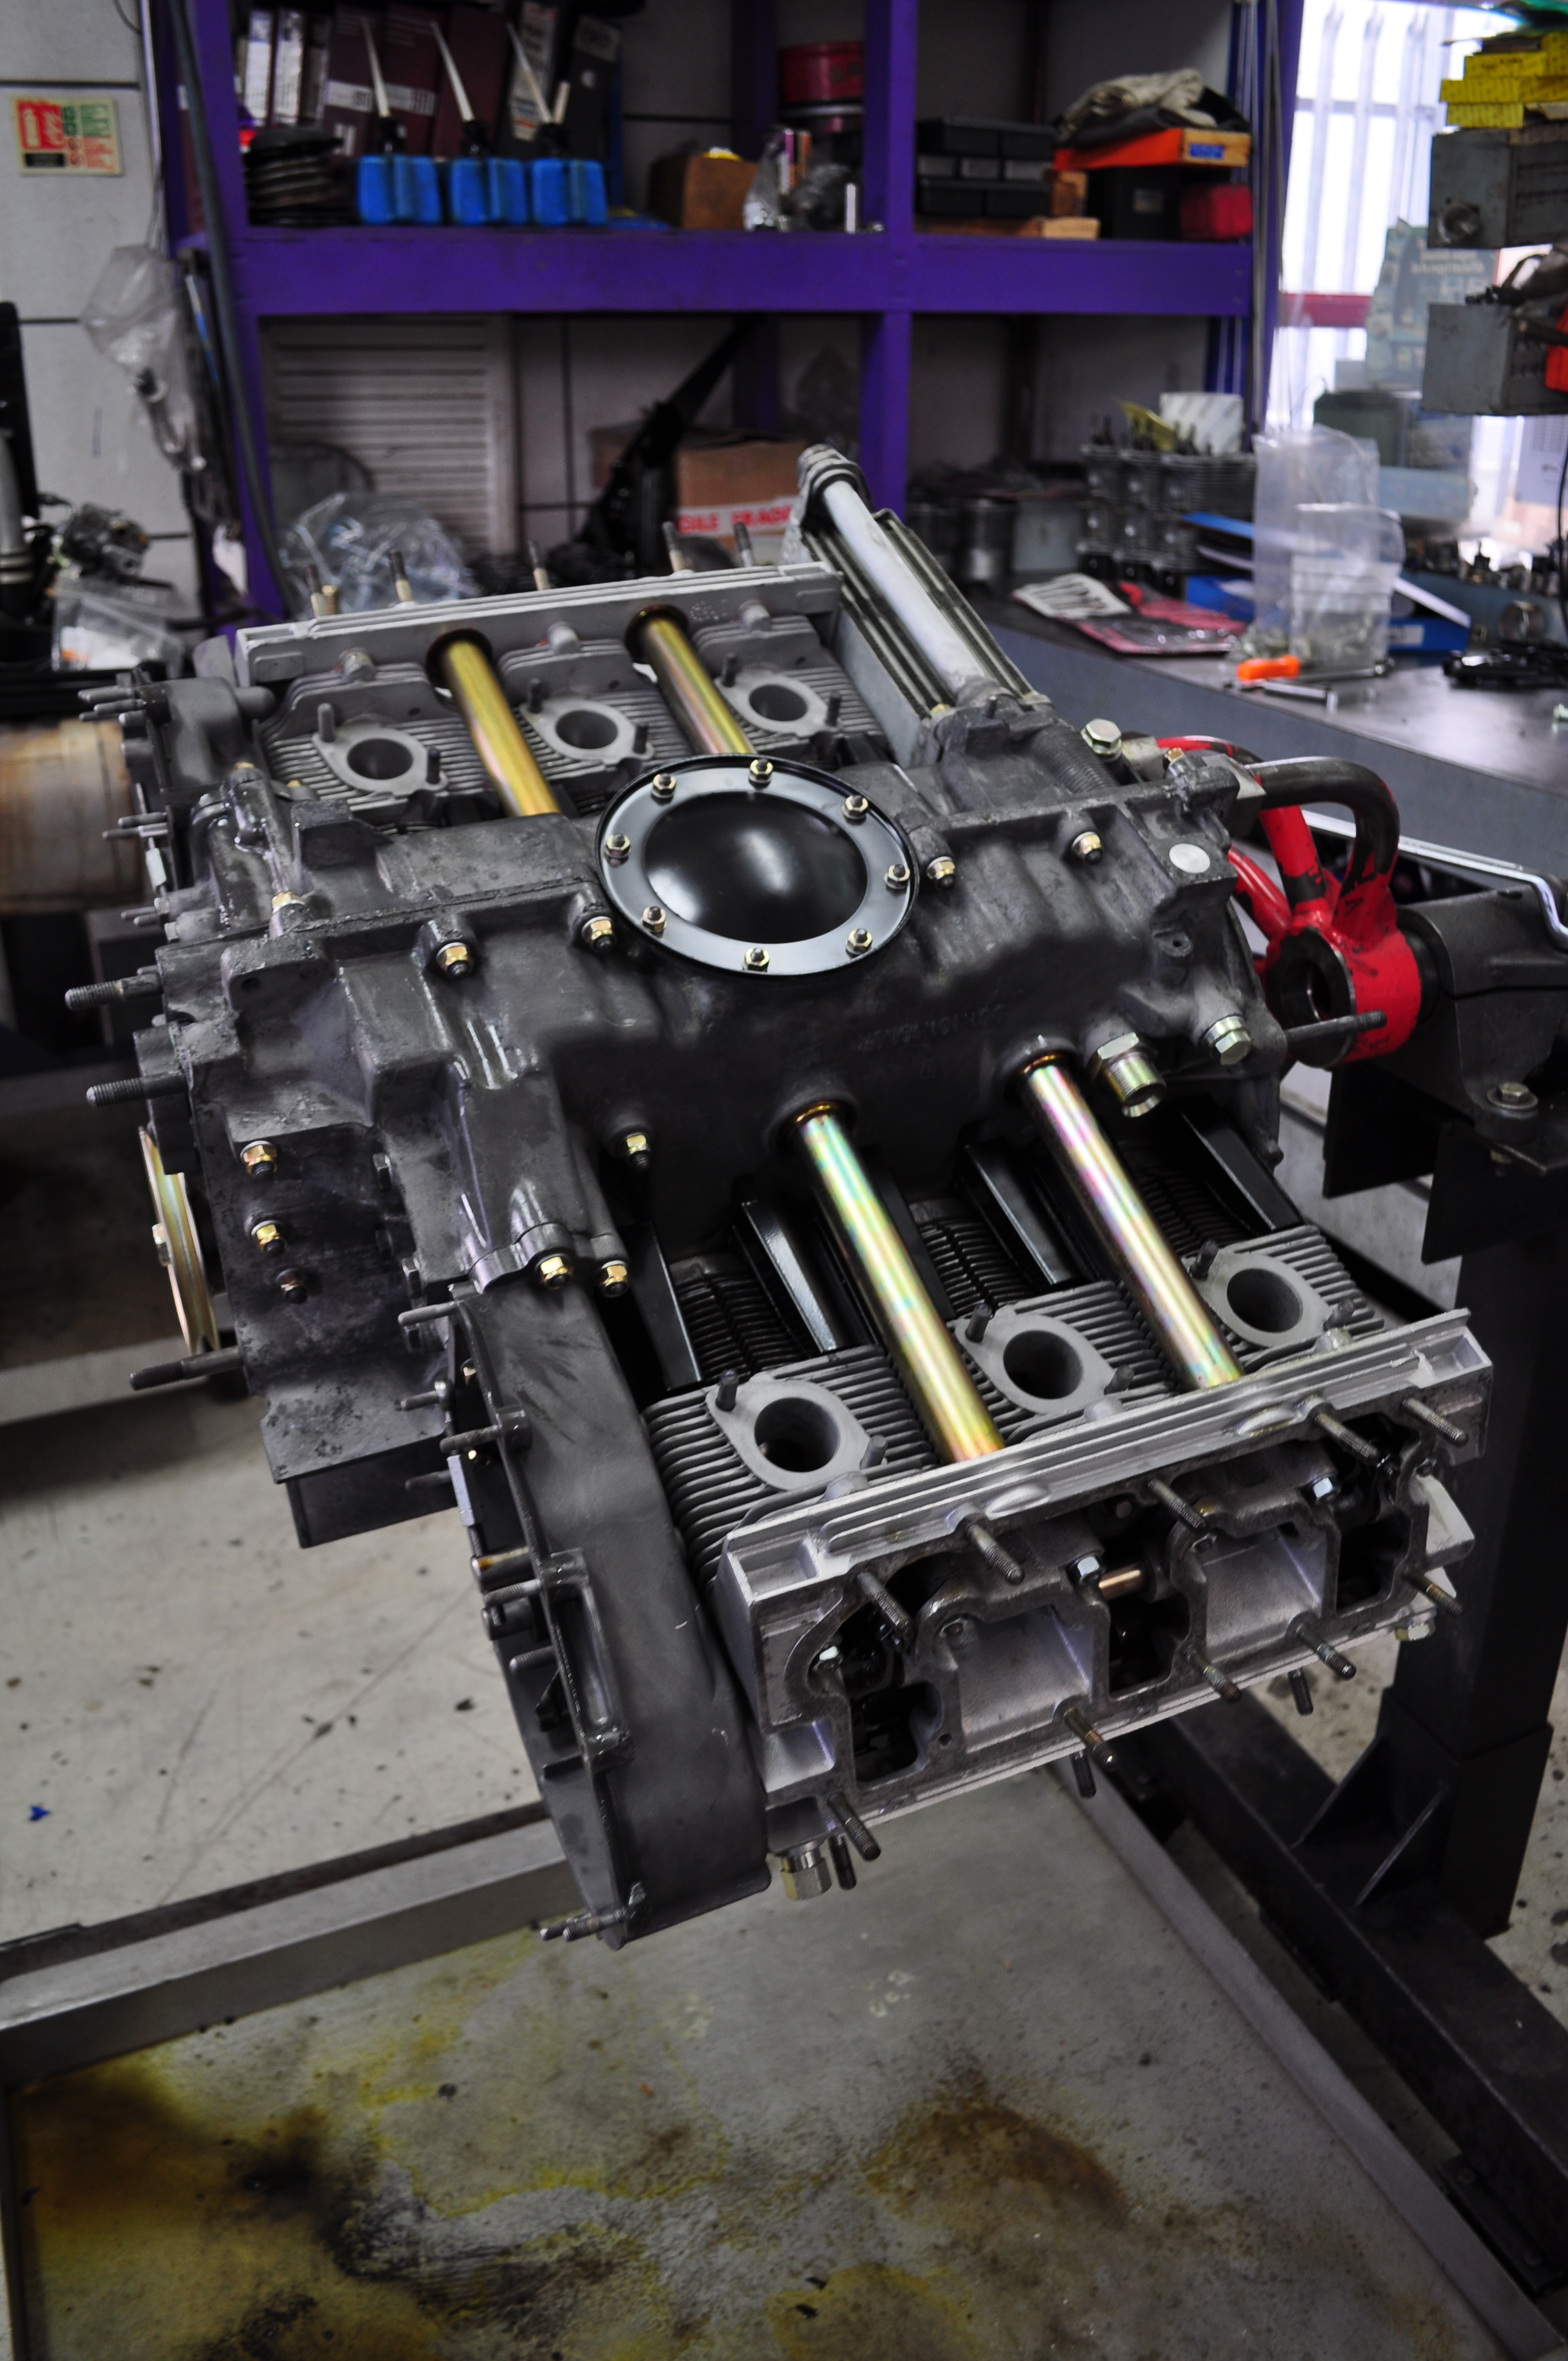
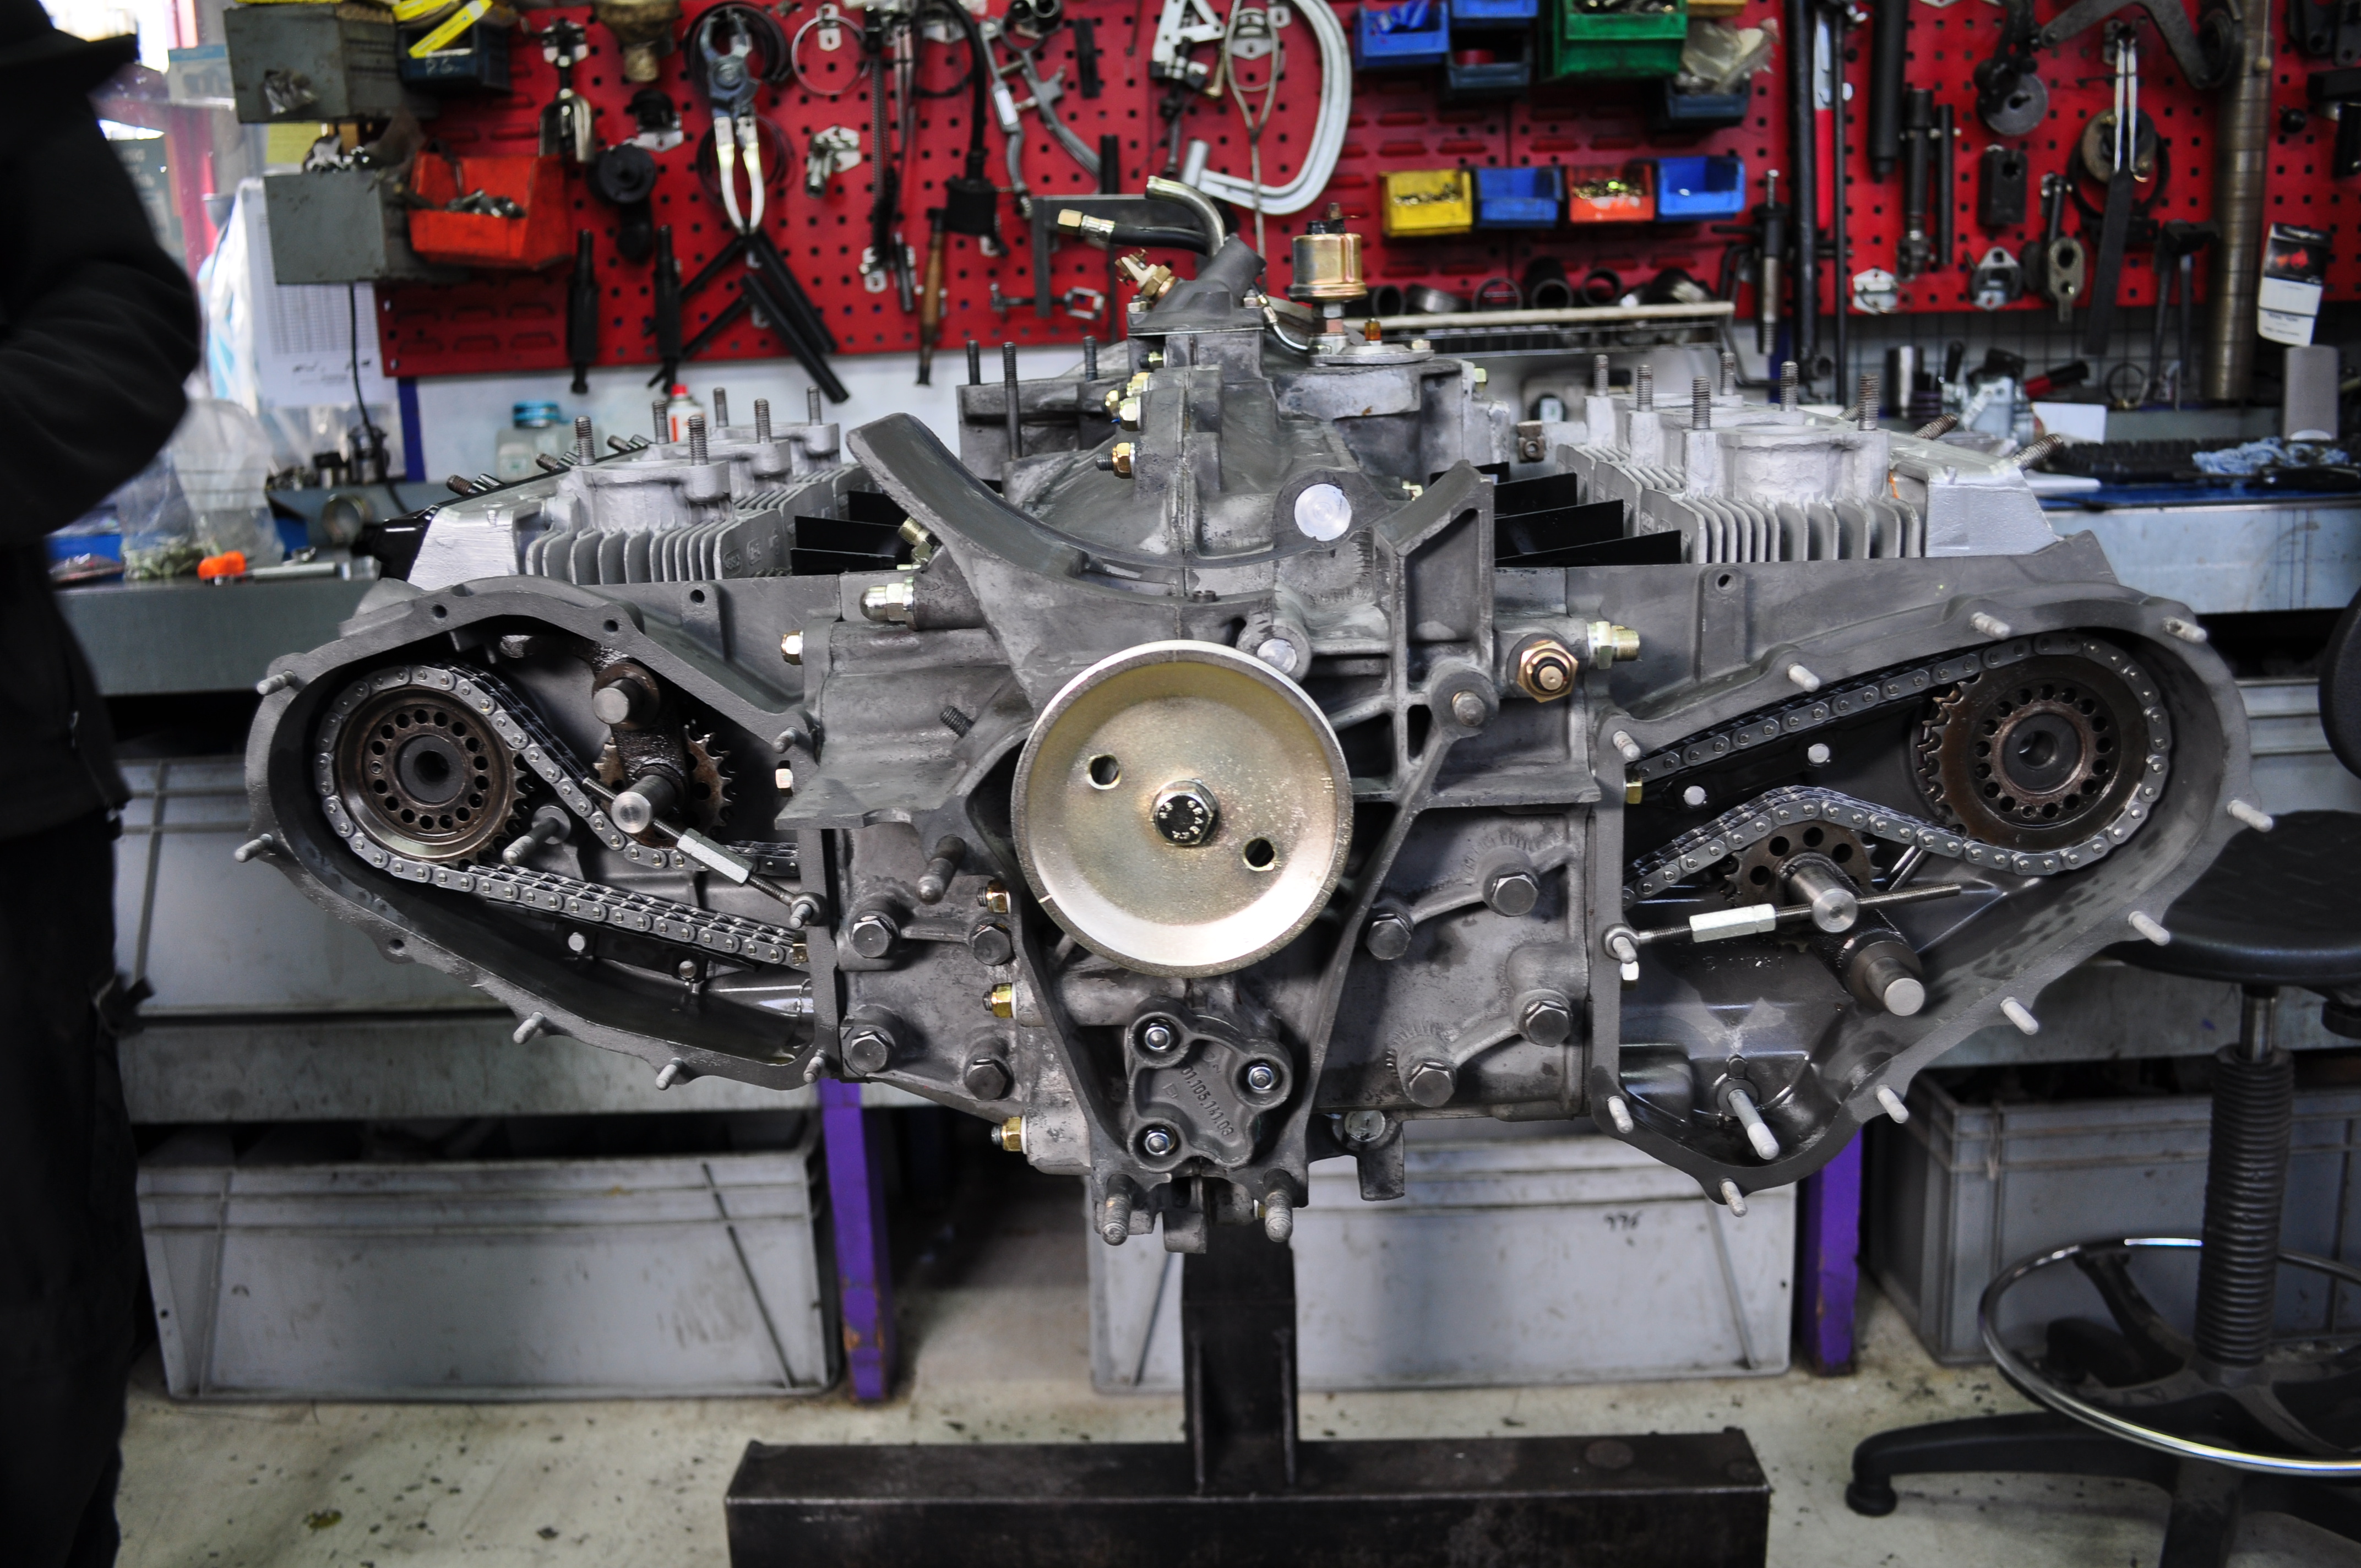
The engine looked fantastic with fully assembled cylinder heads and timing chains in place. Dave spun it round on the stand so we could have a close look at the underside with its gleaming new oil return tubes and new sump cover.

On the bench were 2 red engine shrouds. My original crazed and cracked shroud which is beyond rescue and a secondhand SC shroud. As there are no replacements available for the 2.2S shroud, there’s no choice but adapt the SC one by cutting holes to match those on the old shroud and by swapping across some unique 2.2S bits.

The separate grey ducting on the 2.2S shroud is mirrored by fully moulded-in ducting on the SC one so although they look different the all important function of funnelling air from the fan to the engine mounted Behr oil cooler is covered. Dave explained that they just needed to make some final modifications and also needed one additional moulding to complete the replacement shroud.

As well as outlining what he’d done to get the engine to this state of build – Dave also pulled out the components that would be attached over the coming week. It was nice to see these close-up before they get buried under all of the remaining pipes, linkages, air boxes and other gubbins that are still to be attached. The immaculately refurbished Bosch MFI metering pump, beautifully cleaned up and detailed cam covers and powder coated air boxes with re-chromed clips looked great.

In terms of outstanding work Dave suggested that as everything else on the engine had been rebuilt, refurbished or replaced – the very dirty and probably original alternator would benefit similar treatment. With a 1 day turnaround on this work it’s pointless not to bring it up to the same standard as the other components and avoid any age/wear related issues down the line.
Dave also said that he’d check and flush out the oil tank to prevent any old sludge from contaminating the pristine guts of the rebuilt engine. He’ll also need to connect the engine oil system to the new external, front wheel arch mounted Carrera oil cooler. Steve sourced all of the long pipes, brackets and oil cooler matrix for this last year and Sportwagen fitted them to the underside of the car (with the pipe ends nearest to the engine blanked off) in anticipation of the engine rebuild. This and the fact that a whole load of crap was removed from the cylinder cooling fins should ensure cool running of the engine.
Looking at the original distributor Dave suggested replacing the points with an American (Pertronix) contactless electronic ignition kit that they use successfully on lots of engines. Although it’s a minor diversion from the original it’s a simple and sensible modification which should be maintenance and adjustment free.
Dave pointed out that the throttle bodies were still away being sorted out with new bushes, and adjustments to fix the slightly sticky butterflies. Some pitting on the inside of the bodies also needed to be addressed.
After dragging Stan away from his self-appointed workshop sweeper-upper job – we had a quick drool over the 356 and headed home before Wembley became completely swamped with England & Poland footy fans.
Looking forward to next week’s visit in the hope that Problem 149 doesn’t manifest itself!
Hi Phil,
Glad to see that everything is coming together nicely. Looks like Dave is a thorough professional. I am yet to discover such a guy here. I should not be complaining though. My current guy is much better than the last one. 🙂
Sudeesh
Looking very good, Phil. The Bosch metering pump is quite a handsome object, isn’t it? Superb piece of refurbishment/restoration.
Tremendous blog and cannot wait to see the final engine installed and running! Hats off to Steve for the camshaft swap – you have got an amazing team working this. Interesting how many parts were designed specifically for your engine. Curious to know how much additional power the car has when the restore is complete. Thanks for sharing this!